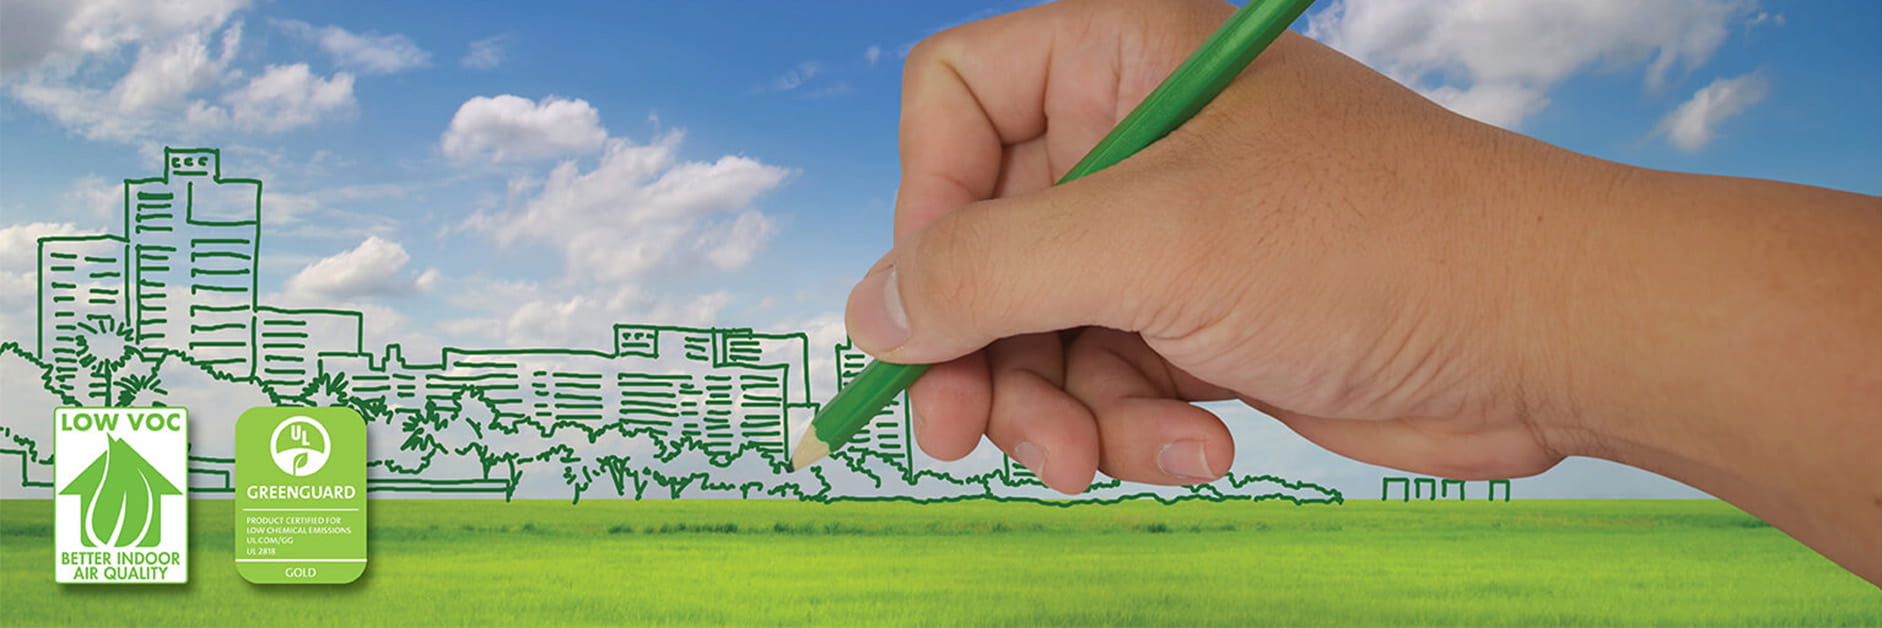
Build a Greener World
With a wide array of GREENGUARD Certified and low VOC options, LATICRETE® products contribute to green, sustainable projects. Australia.
Learn More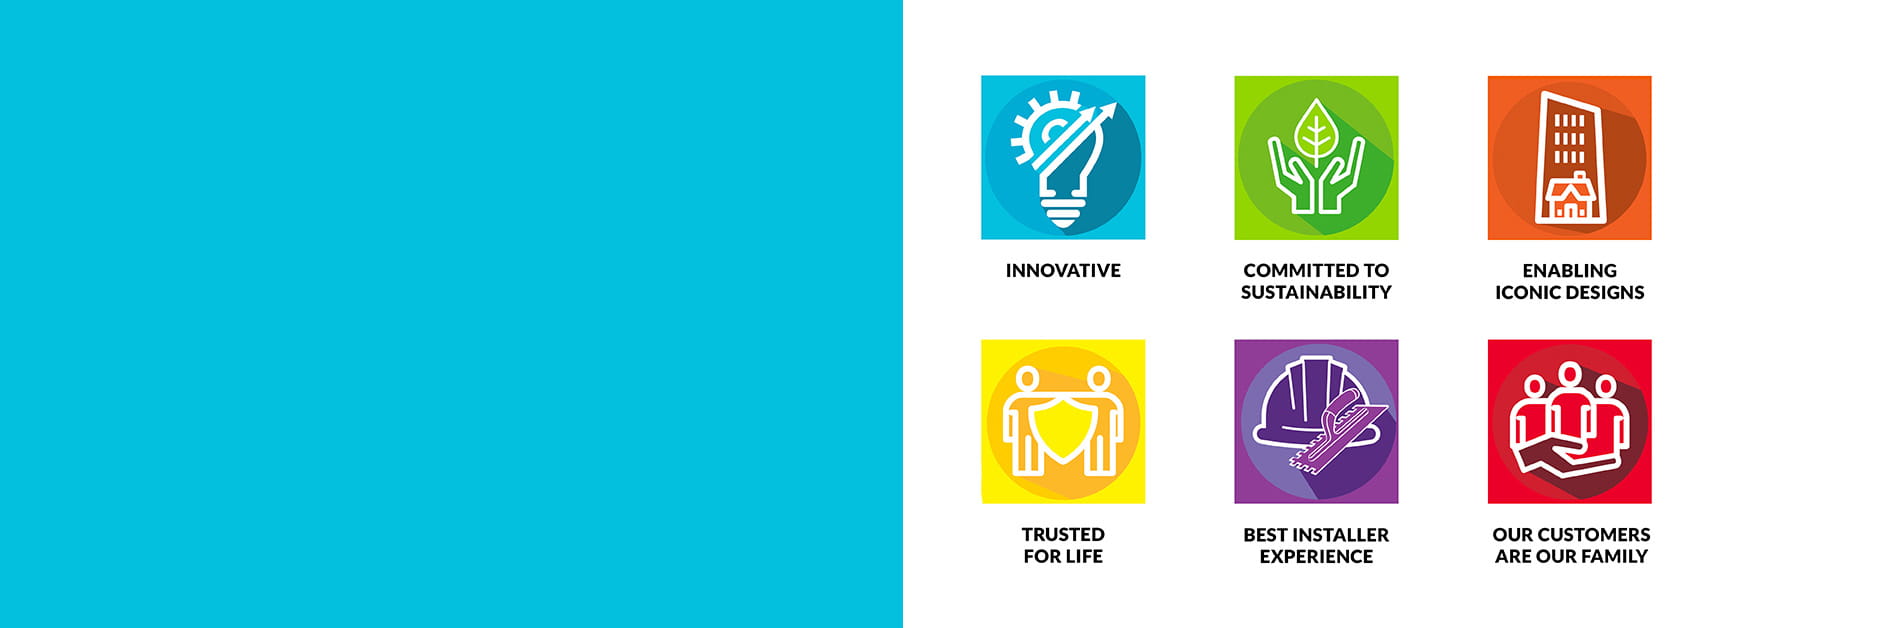
Our Brand Promises
Rooted in innovation, growing for excellence, these are our commitments to our customers, the Earth, and the construction industry.
READ MORE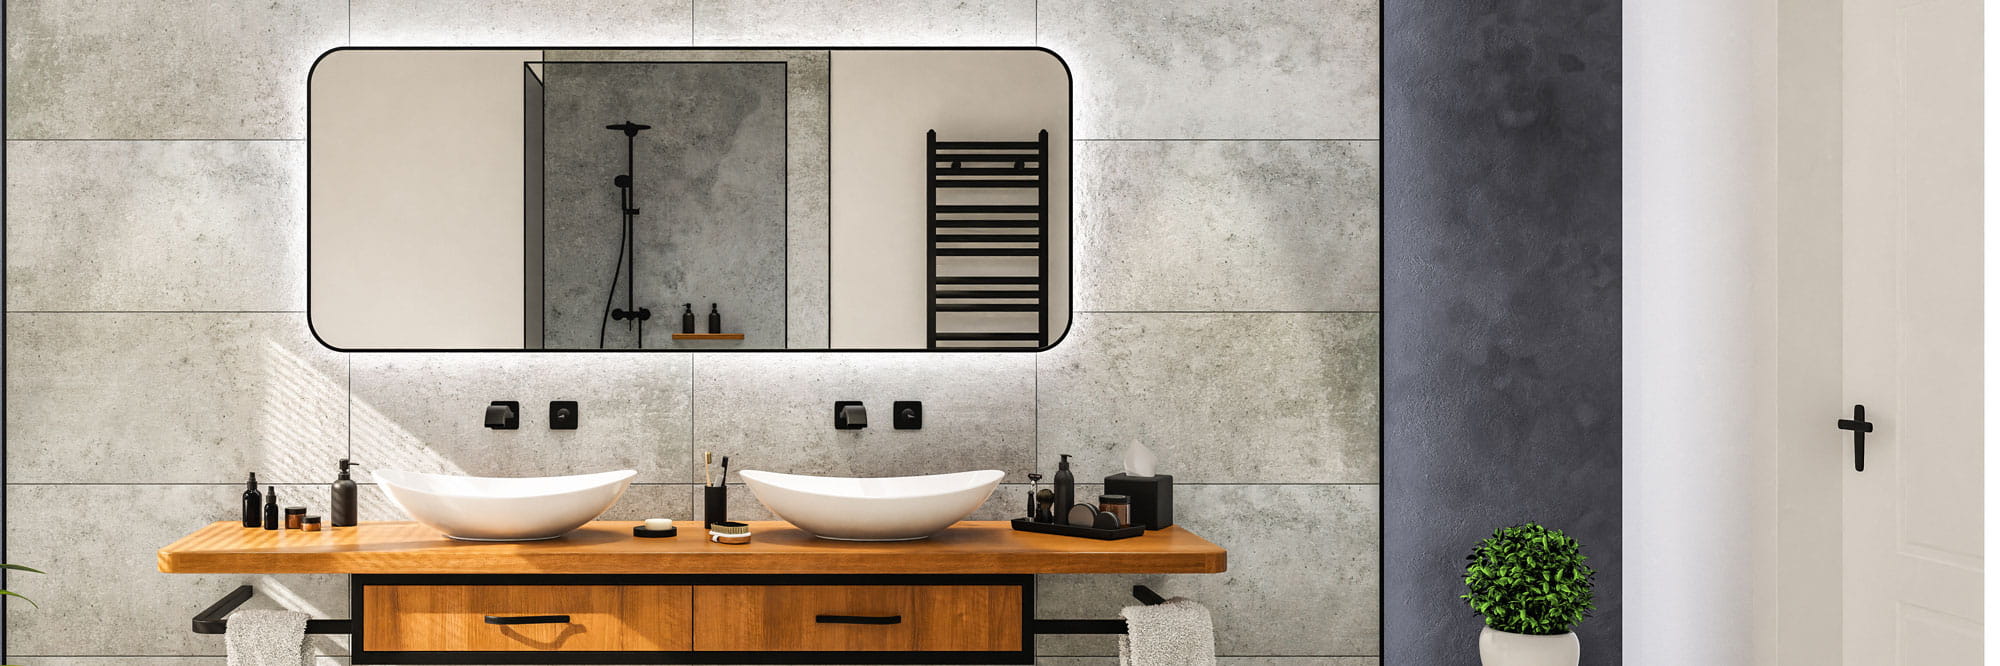
Something New is Coming at Coverings 2023
You know LATICRETE is your best choice from start to finish. Now, get ready for a new world of possibilities!
Coverings Show DetailsView by Category
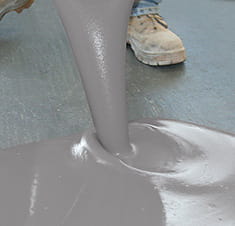
A Color for Every Project
Select from our wide range of colors for grout, sealant, and mortar. Samples available upon request. .